
Twitter and Google Maps mashup in 20 minutes with Grails
Introduction
For many developers Java is often a synonym for totally non-sexy enterprise applications development. It is associated with numerous XML configuration files, boilerplate code, etc. So they instead use dynamic languages like Ruby, Python, PHP to develop their projects, especially when these are own simple utilities, mash-ups, etc.
However the Java field has changed much in the recent few years. There are multiple frameworks which relieve developer from “enterprise” burden. Grails is probably one of the best. It is based on Groovy, which is a dynamic language running on Java platform designed specially for Java programmers. It uses well known robust and efficient Java libraries to do all the heavy lifting (Spring, Hibernate, etc.). There is also a plugin system and plugins exist for almost every widely used Java library.
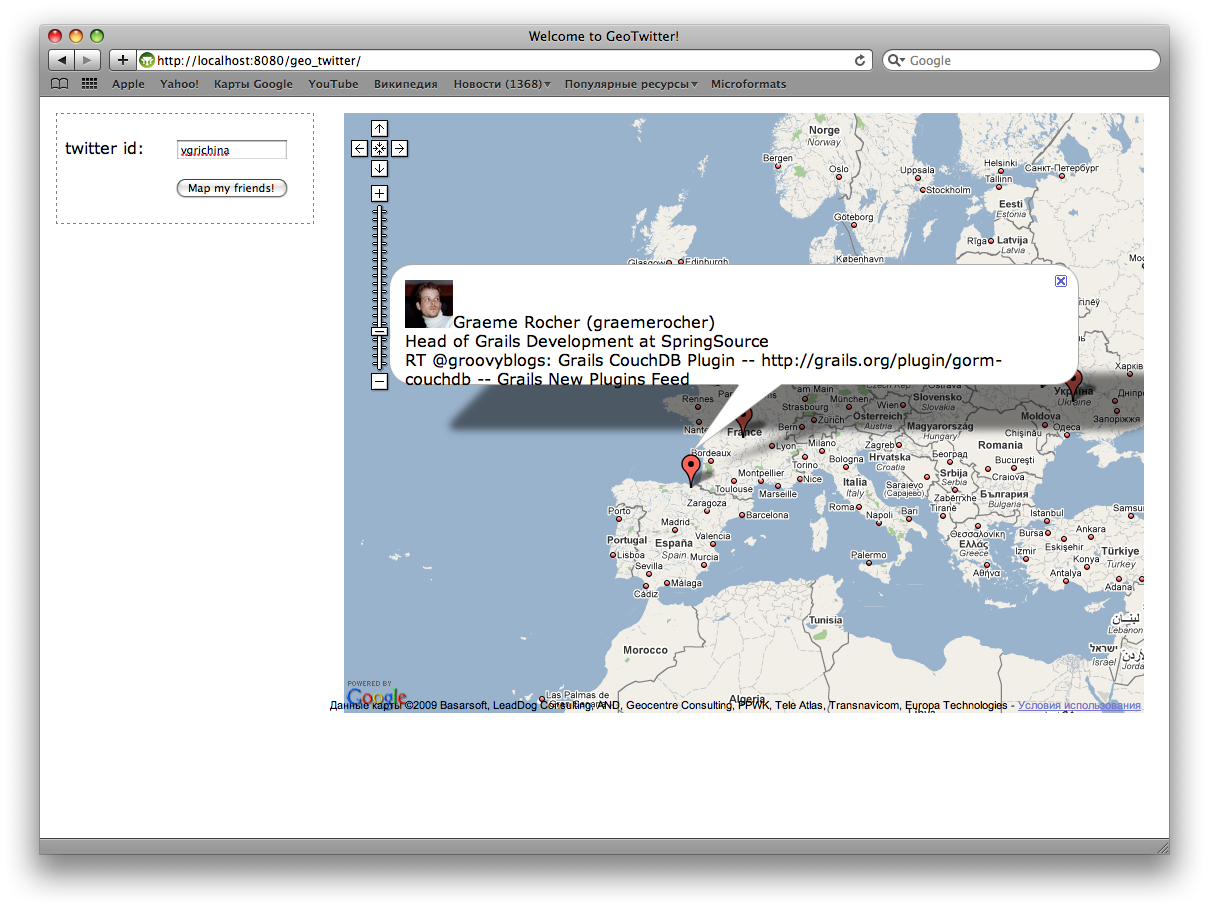
In this article we’ll show how to make a mash-up of Twitter and Google Maps in around 20 minutes. The end result will look similar to this:
Prepare environment
At first you need to make sure that you have proper version of JDK installed. The best idea would be to grab the latest version of JDK here.
Install it and then make sure JAVA_HOME environment variable points to the installation directory.
Then download latest Grails release from here.
Unpack the archive anywhere you want but then set GRAILS_HOME environment variable to point to that directory. Also make sure that "bin/" subdirectory of Grails installation directory is referenced in PATH environment variable.
After doing the aforementioned steps you should be able to run Grails commands in console. Try to type "grails help" to check it. It should output the list of available commands.
Basic concepts
Grails framework is based on the MVC design pattern. Model is represented by the domain classes, controllers by the controller classes, views by GSP pages. In this project only controller class and view GSP need to be defined, as model is provided by Twitter API.
A good inroduction reading would be quick start guide. Further information can be obtained in user guide. In particular for this article information about controllers and groovy server pages would be helpful.
Generate application skeleton
One of the features provided by Grails to relieve developer from the burden of enterprise Java development is the ability to automatically generate the skeleton of basic application.
To generate it simply type:
grails create-app geo_twitter
This will create application with name "geo_twitter" in the current working directory. You’ll need to change into that directory for all further steps.
Getting started with Google Maps
Integrating Google Maps is simple and well-supported by Google. However you need at first obtain API key to set full access to all services. Don’t fear — it is easy, quick and free.
Let’s at first clean up main layout of Grails application — Grails logo, etc can also be removed. Open grails-app/views/layout/main.gsp and edit it so that it looks like this:
<html>
    <head>
        <title><g:layoutTitle default="Grails" /></title>
        <link rel="stylesheet" href="${resource(dir:'css',file:'main.css')}" />
        <link rel="shortcut icon" href="${resource(dir:'images',file:'favicon.ico')}" type="image/x-icon" />
        <g:layoutHead />
    </head>
    <body>
        <g:layoutBody />
    </body>
</html>
Then let’s edit grails-app/views/index.gsp so that it includes simple Google Maps integration as follows:
<html>
    <head>
        <title>Welcome to GeoTwitter!</title>
        <meta name="layout" content="main" />

        <script src="http://www.google.com/jsapi?key=YOUR_GOOGLE_MAPS_API_KEY" type="text/javascript"></script>

        <script type="text/javascript">
            google.load("maps", "2.x");
            google.load("jquery", "1.3.1");

            google.setOnLoadCallback(function() {
                $(document).ready(function() {
                    var map = new GMap2(document.getElementById('map'));
                    var vinnitsa = new GLatLng(49.2325477, 28.4744695); // Replace this by coordinates of your own city ;)
                    map.setCenter(vinnitsa, 8);
                    map.addControl(new GLargeMapControl());
                });
            });
        </script>
    </head>
    <body>
        <div id="map" style="width:800px; height:600px">
        </div>
    </body>
</html>
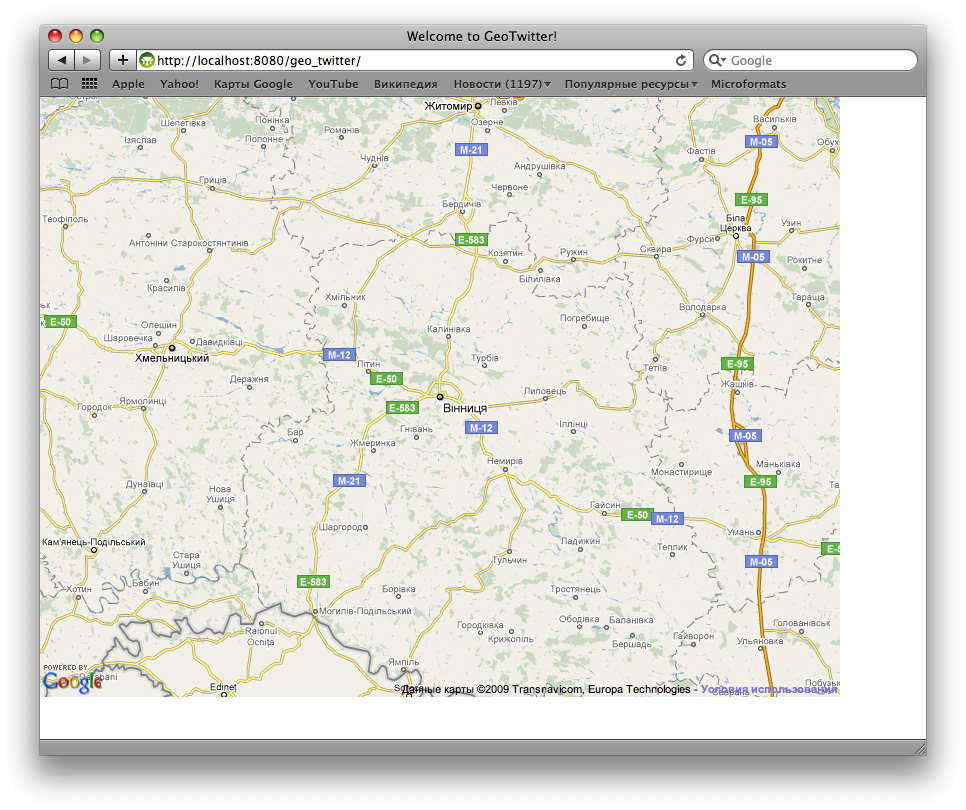
The end result will look similar to this:
Add a form for Twitter and do layout
Let’s add a simple user name form for Twitter to the index.gsp view.
<div class="form">
    <form action="" id="twitter">
        <p>
            <label>twitter id:</label>
            <input type="text" id="name" name="name" value=""/>
        </p>
        <p class="submit">
            <input type="submit" value="Map my friends!">
        </p>
    </form>
</div>
Then replace the main stylesheet in web-app/css/main.css with something like this:
body {
    font-family: Verdana, Helvetica, sans-serif;
    margin: 1em;
}

#map {
    position: absolute;
    width: 800px;
    height: 600px;
    left: 19em;
    top: 1em;
}

.form {
    border: 1px dashed gray;
    width: 15em;
    padding: 0.5em;
}

.form label {
    width: 7em;
    display: block;
    float: left;
}

.form input {
    width: 10em;
}

.form .submit {
    padding-left: 7em;
}
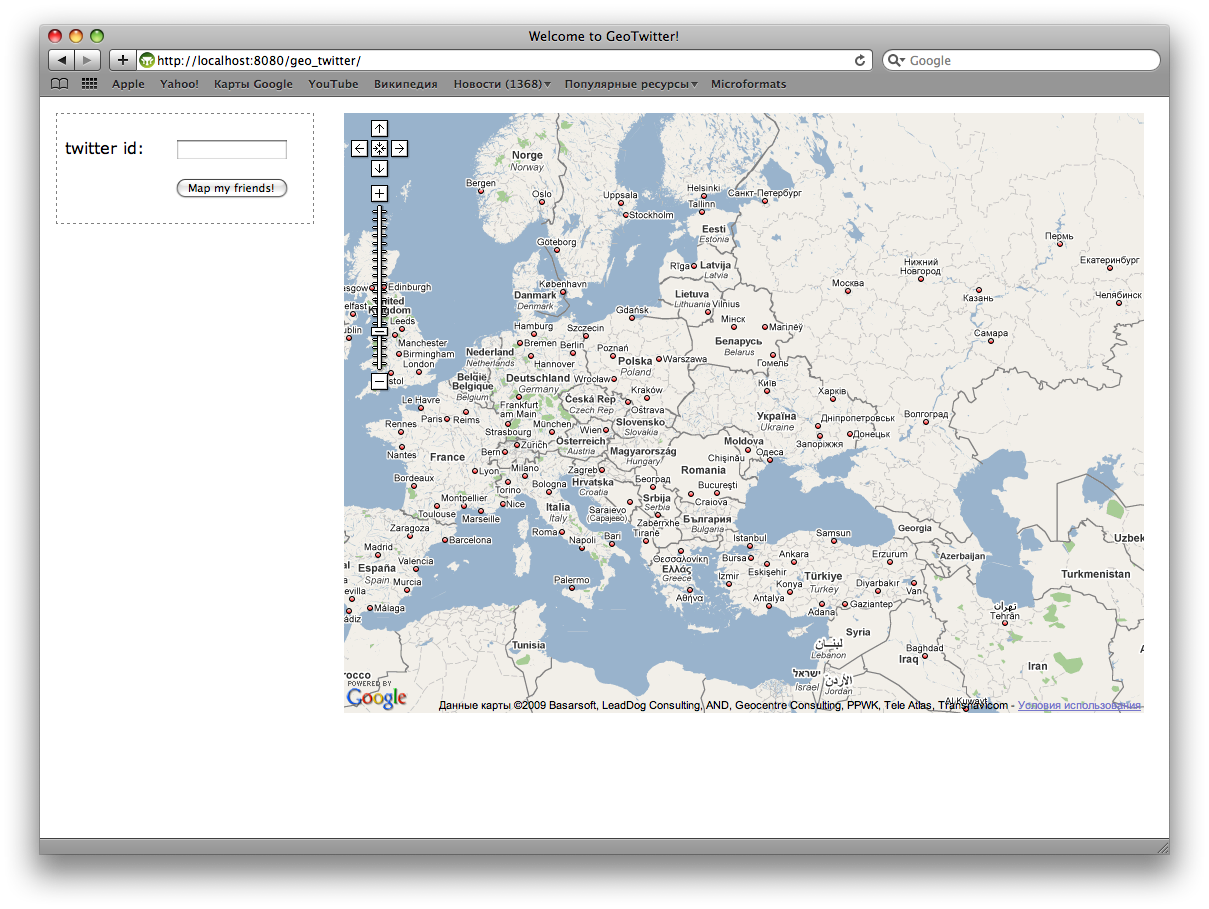
You’ll get the page looking similar to:
Add server-side logic
To make something actually working, we’ll need to add some server-side logic. Let’s at first install Grails Twitter plugin to work with Twitter.
grails install-plugin twitter
Now we need to create controller which will give the list of friends from Twitter with information about their location, etc.
grails create-controller Twitter
The command above will generate grails-app/controllers/TwitterController.groovy file with dummy controller source. It should be replaced by controller implementation which will give out info about friends in JSON format. It will also have to call geocoding service to get coordinates on map by given location name.
import grails.converters.*

class TwitterController {
    // Google Maps API key
    static def API_KEY = "Insert your Google Maps API key here"

    // TwitterService instance will be injected into this variable by Spring
    def twitterService

    def friendsJson = {
        // Get friends of given user
        def friends = getFriends(params.name)
        // Render friends list as JSON
        render(friends as JSON)
    }

    private def getFriends(String userName) {
        def friends = twitterService.getFriends(params.name)

        // Return only the needed fields for each user and retrieve coordinates for location
        friends.collect { it ->
            [
                screenName: it.screenName,
                name: it.name,
                pictureUrl: it.profileImageUrl as String,
                bio: it.description,
                status: it.status?.text,
                coords: getCoordsFromLocation(it.location)
            ]
        }
    }

    /**
     * This method gets coordinates on map for given location string.
     */
    private def getCoordsFromLocation(String location) {
        if (location) {
            if (location.contains("iPhone:")) {
                // There can be coords specified in location
                // like iPhone: 39.035248,-77.138687
                location = location.replace("iPhone: ", "")
                def parts = location.split(",")
                return [latitude: parts[0], longitude: parts[1]]
            } else {
                // Encode location as URL
                def encodedLocation = URLEncoder.encode(location)
                // Call web service by retrieving URL content
                def response =
                    "http://maps.google.com/maps/geo?q=${encodedLocation}&output=xml&key=${API_KEY}".toURL().getText()
                // Parse response XML
                def root = new XmlSlurper().parseText(response)
                if (root.Response.Placemark.size() == 1) {
                    def coords = root.Response.Placemark.Point.coordinates.text()
                    def parts = coords.split(",")
                    if (parts.size() > 1) {
                        return [latitude: parts[1] as Double, longitude: parts[0] as Double]
                    }
                }
            }
        }

        // No coordinates are determined
        return null
    }
}
Use AJAX to retrieve data from server
After we have written controller logic, it is needed to write JS code that will actually retrieve data from server and display it on the map. This code can be done as form submit handler, however at first let’s specify correct action for form:action="${createLink(controller: 'twitter', action: 'friendsJson'}"
Then let’s add form submit handler to index.gsp, so that we have such script:
google.load("maps", "2.x");
google.load("jquery", "1.3.1");

google.setOnLoadCallback(function() {
    $(document).ready(function() {
        // Create and configure Google Map control
        var map = new GMap2(document.getElementById("map"));
        var vinnitsa = new GLatLng(49.2325477, 28.4744695);
        map.setCenter(vinnitsa, 4);
        map.addControl(new GLargeMapControl());
        // Add form submit handler
        var form = $("#twitter");
        form.submit(function() {
            $.getJSON(form.attr("action") + "?" + form.serialize(), function (data) {
                // Clear all markers
                map.clearOverlays();
                // Loop through friends list and add markers to map
                $.each(data, function (i, item) {
                    if (item.coords) {
                        var marker = new GMarker(new GLatLng(item.coords.latitude, item.coords.longitude));
                        map.addOverlay(marker);
                        var popup = '<img style="width: 48px; height:48px;" src="' + item.pictureUrl + '">' +
                            item.name + ' (' + item.screenName + ') <br>' +
                            item.bio + '<br>' + item.status;
                        GEvent.addListener(marker, "click", function() {
                            marker.openInfoWindowHtml(popup);
                        });
                    }
                });
            });
            // Indicate that form should not actually be submitted
            return false;
        });
    });
});
Now when you enter the name and click “Map you friends!” you’ll have such a nice picture:
Live demo and source code
- Source code of the demo project can be obtained in the github repository
- Live demo can be seen at our demo server (if it is not down :)
Further reading
- Grails Twitter plugin
- jQuery and Google Maps Tutorial
- Social mashups with Groovy
- Mastering Grails: Asynchronous Grails with JSON and Ajax
- Mastering Grails: Grails services and Google Maps
Shameless plug
We develop mobile and web apps, you can hire us to work on your next project.